How to choose the right joist spacing for WPC installation is more than a spacing question. It determines surface stability, drainage, board movement, and long-term comfort underfoot. Industry guidance from the Composite Panel Association and ASTM D7032 stresses that composite products require tested support conditions, not assumptions borrowed from timber decking. Freedonia’s Wood-Plastic Composites industry analysis also highlights the importance of product-specific performance, because formulations, reinforcement, and profiles vary between manufacturers.
The practical starting point is the WPC manufacturer’s installation guide. Many residential boards use 16 inches on center for perpendicular installation, while diagonal layouts often require 12 inches or less. Some hollow boards need closer support. Hot climates, heavy furniture, commercial foot traffic, and irregular substructures may justify tighter spacing. Measure from center to center, and check the frame before fastening. Small errors become visible as soft spots, raised edges, or clicking sounds.
Deck-design specialist Dr. Frank Woeste emphasizes a principle often repeated in structural guidance: “The details matter.” That applies here. A joist spacing decision should consider span tables, board thickness, fastening systems, drainage, and local building requirements. Still, one limitation deserves attention: published spacing values are not universal. They depend on the exact WPC profile and installation direction. Treating a general rule as a guarantee can create avoidable problems. For a reliable result, compare the product data sheet, the manufacturer’s tested limits, and the site conditions before cutting the first joist.
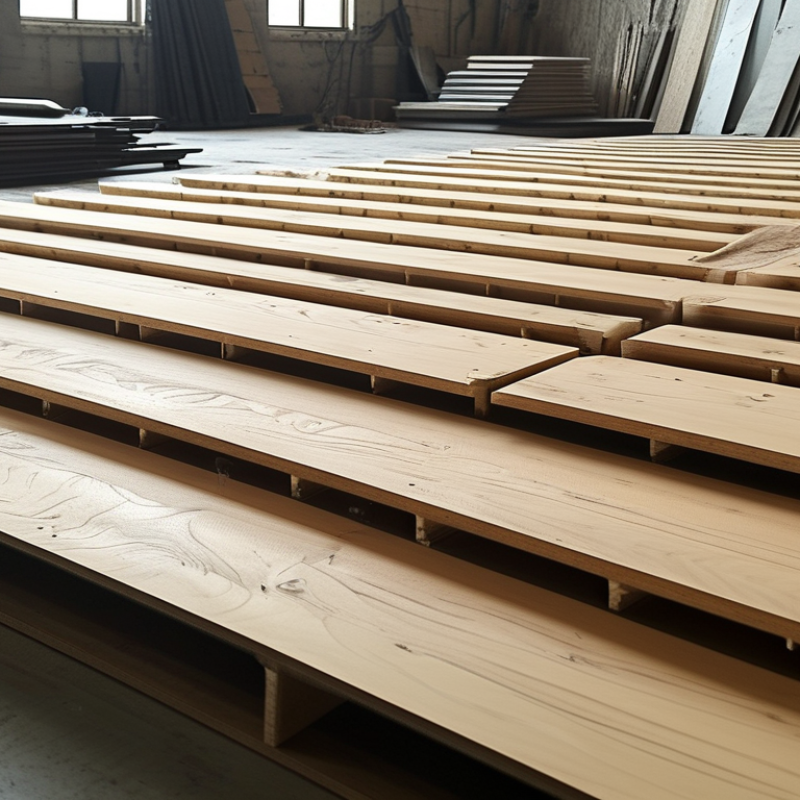
Understanding joist spacing requirements is essential for a stable WPC installation. Joist spacing means the distance between joist centers, not the open gap between them. Most standard WPC boards require joists at 300 to 400 millimeters on center. However, the board thickness, profile, fixing method, and expected load can change this range. Always check the technical sheet and local building requirements before cutting materials.
Use closer spacing for diagonal layouts, stairs, narrow boards, and areas with heavy furniture. A diagonal installation often needs joists around 200 to 300 millimeters apart. Keep the support frame level and well aligned. Small height differences may create visible movement or water-holding spots. Measure carefully. Recheck every line.
Site conditions also matter. Concrete surfaces may hide uneven points, while wet ground can cause future settlement. Provide adequate drainage and airflow beneath the boards. Leave the required expansion gaps at board ends and around fixed structures. Never assume a tighter gap solves every problem. It can restrict movement and increase installation stress. In practice, installers sometimes follow a general spacing rule too closely. That is a mistake worth questioning. A short test section can reveal flexing, loose fasteners, or poor alignment before the full deck is built. Load-bearing areas should be reviewed by a qualified professional when the design is unusual or elevated.
WPC joist spacing should begin with the decking specification, not a familiar number. Many residential boards allow 16 inches on center for straight installation. Diagonal layouts often require 12 inches or less. However, each profile has different stiffness, thickness, span limits, and fixing requirements. Check the technical sheet carefully. A neat 16-inch grid is not automatically correct.
A neat 16-inch grid is not automatically correct.
Load conditions matter equally. The American Wood Council’s Prescriptive Residential Deck Construction Guide uses a 40 psf live load and a 10 psf dead load for typical residential deck design. The 2024 International Residential Code also lists 40 psf for deck live loads in Table R301.5. These figures describe design loading, not permission to exceed the WPC board’s tested capacity. Heavy planters, outdoor kitchens, snow, and concentrated furniture loads can create local stress. Joists may need closer spacing.
Measure the actual site conditions. A shaded deck may stay damp longer, while a sunny deck can experience repeated thermal movement. Keep joists level, properly supported, and spaced consistently. Add blocking where board ends meet, if the installation guide requires it. I have seen installers follow spacing charts but ignore support at butt joints. That small omission can cause movement and noise. Recheck the specification, structural drawings, and local code before fixing the first board. Manufacturers’ testing under ASTM standards can guide performance, but field conditions remain less predictable. That deserves caution.
Selecting the Correct Joist Spacing for Board Thickness
Board thickness strongly affects the joist spacing required for WPC decking. Thinner boards flex more under foot traffic, especially when installed over uneven ground. As a practical starting point, 20–22 mm boards often need joists at 300 mm centers. Boards around 25–30 mm may allow 400 mm centers, but only when their tested span tables permit it. These figures are not universal. ASTM D7032-21 requires composite decking systems to demonstrate structural performance through testing, so the product’s engineering data should control the final layout.
Residential decks commonly follow a 40 psf live-load requirement under the 2024 International Residential Code, Table R301.5. That load does not automatically make every WPC board suitable for wider spacing. Diagonal installation usually needs closer joists, often 300 mm centers, because the board crosses fewer supports. Narrower spacing also helps reduce vibration near stair landings and dining areas.
Watch the surface after installation.
A 400 mm grid may look efficient, yet a thin board can feel springy between supports. In hot weather, thermal movement can make this weakness more visible. I have found that checking the underside for continuous support is more useful than trusting a simple spacing rule. Leave room for drainage, keep joists level, and verify screw-edge distances. The less comfortable answer is often the safer one: reducing spacing costs more timber, but replacing bowed boards costs far more.
How to Choose Joist Spacing for WPC Installation?
Preparing and Aligning Joists Before Installing WPC Boards
Accurate joist preparation matters more than fast board installation. Most residential WPC systems begin with joists spaced 400 mm on center. Diagonal layouts often require 300 mm spacing. These figures are common practice, not universal rules. ASTM D7032 evaluates WPC deck-board performance, but it does not replace the spacing instructions for a tested product system.
Start by measuring every joist from the centerline, not from its edge. A small error can create uneven board joints across the entire deck. Use a straightedge and string line to find crowned, twisted, or sagging members. Plane high spots carefully. Shim low areas with durable, compatible material. Keep the joist tops level and dry.
Support blocking deserves attention. Install blocking beneath board ends, picture frames, and high-traffic edges. Leave the specified ventilation gap around walls and fixed structures. The 2024 International Residential Code separates structural framing requirements from product installation requirements, so local inspection rules still apply. I have seen installers trust a “standard” 16-inch layout too quickly. That shortcut can fail with heavier boards, diagonal patterns, or unusual loads. Recheck the layout before drilling. Five extra minutes can prevent visible movement, trapped water, and difficult board replacement later.
| Installation Condition | Recommended Joist Spacing | Typical Application | Preparation and Alignment Requirement |
|---|---|---|---|
| Standard residential deck with boards installed perpendicular to joists | ≤ 400 mm (15.7 in) on center | Normal foot traffic and common residential layouts | Keep every joist level, parallel, and firmly supported. Use the board manufacturer’s limit if it is more restrictive. |
| Commercial, public, or higher-traffic areas | ≤ 300 mm (11.8 in) on center | Walkways, hospitality areas, entrances, and frequently used decks | Reduce spacing to limit board deflection. Check the expected occupancy load and local structural requirements. |
| Diagonal or angled board layout | ≤ 300 mm (11.8 in) on center | Boards installed at an angle rather than perpendicular to the joists | Add intermediate support where the angled cut reduces bearing or increases the unsupported span. |
| Areas receiving concentrated loads | ≤ 300 mm (11.8 in) on center, with extra blocking | Around stairs, gates, planters, hot tubs, outdoor kitchens, and heavy furniture | Provide additional framing designed for the specific load. Do not support heavy items on decking boards alone. |
| Board ends meeting over a joist | Use a dedicated double-joist or manufacturer-approved support | Butt joints between two WPC boards | Give each board end a separate, fully supported fixing surface. Avoid fastening two board ends to one narrow joist. |
| Perimeter and picture-frame sections | Add perimeter joists and blocking at ≤ 300–400 mm centers | Deck edges, borders, fascia, and trim boards | Create a rigid, level frame so edge boards can be fastened without unsupported overhang. |
| Low-clearance or poorly ventilated installation | Follow the tighter spacing recommended for the selected board | Decks close to the ground or over impermeable surfaces | Provide drainage and cross-ventilation. Do not block air gaps with soil, debris, or solid skirting. |
How to Choose Joist Spacing for WPC Installation?
Edges, seams, and busy walking areas need a more careful joist layout. Standard spacing often works in open fields, but board ends create weak points. Place every butt seam directly over a joist. For cleaner support, use two parallel joists beneath the seam. Add blocking between them when the joint could twist or shift.
The 2024 International Residential Code, Table R301.5, lists a 40 psf live load and a 300-pound concentrated load for residential decks. These figures do not replace the WPC installation guide, but they show why crowded areas deserve stronger framing. Near stairs, doors, dining tables, and grill zones, consider reducing spacing from 16 inches to 12 inches on center. Diagonal layouts usually need closer support, often 12 inches or less. ASTM D7032 also evaluates composite decking for structural and durability performance, but it does not approve one universal joist gap.
Tips: Mark every edge before fastening. Add a second joist under each seam. Keep perimeter joists straight and level. Check spacing again after blocking. Small errors become visible quickly.
A practical detail is easy to miss. End cuts near a rim joist may leave too little fastening space. Shift the layout slightly, rather than forcing a seam at the edge. I have found that careful planning reduces movement, though site conditions can still expose weak assumptions. Temperature changes, uneven framing, and drainage gaps deserve another inspection before boards are installed.
Recommended maximum joist spacing for common WPC deck layouts. Closer spacing improves board support at edges, seams, diagonal installations, and high-traffic zones.
Use 16 in (406 mm) on center for standard perpendicular installation and reduce spacing to 12 in (305 mm) for diagonal layouts, board seams, stair zones, and high-traffic areas. Always confirm the final spacing with the WPC product installation guide and local building requirements.
Begin with the board specification, not a familiar spacing number. Many straight layouts use 400 mm centers. Diagonal layouts often need 300 mm centers or less. Check the tested span table before installation. Not always.
Yes. Boards measuring 20–22 mm often need joists around 300 mm apart. Boards measuring 25–30 mm may allow 400 mm centers. The product’s engineering data must confirm this allowance. Thicker does not always mean stronger.
Typical residential design may consider a 40 psf live load and a 10 psf dead load. Heavy planters, outdoor kitchens, snow, and dense furniture create extra local stress. These design figures do not override the board’s tested capacity. Think locally.
Diagonal boards cross fewer supports and can flex more between joists. A 300 mm grid commonly reduces movement and vibration. This is especially useful near stairs, dining tables, and deck edges. The layout changes the load path.
Measure every joist from its centerline. Use a straightedge and string line to find crowns, twists, and low areas. Plane high spots and shim low areas with compatible material. Keep the joist tops level and dry.
They may need blocking beneath every butt joint. Picture-frame borders and busy walking edges may also require additional support. Without blocking, board ends can move, squeak, or separate. I have trusted spacing charts too quickly before. That was a mistake.
Shaded areas may stay damp longer, while sunny areas experience repeated thermal movement. Leave the specified ventilation gap beside walls and fixed structures. Keep drainage paths open beneath the boards. Trapped water creates quiet problems.
No. A neat grid can still fail with thin boards, diagonal patterns, or concentrated loads. Check the specification, structural drawings, and local code together. Reducing spacing costs more material, but replacing bowed boards costs much more. Recheck it.
Choosing the correct joist spacing is essential for a stable, safe, and long-lasting WPC deck. How to choose the right joist spacing for WPC installation depends on the board thickness, installation direction, expected loads, and the decking manufacturer’s stated requirements. Thicker boards may allow wider spacing, while thinner boards usually need closer support to prevent flexing, movement, or surface damage. Areas exposed to frequent foot traffic, heavy furniture, or concentrated loads may also require additional joists or reduced spacing.
Before installing the boards, ensure that the joists are sound, level, properly aligned, and securely fixed. Measure the layout carefully and keep spacing consistent across the main deck area. At outer edges, board ends, seams, stairs, and unusual angles, add suitable supporting joists so every connection point is fully supported. Careful preparation and thoughtful adjustments will help create an even surface, improve drainage and ventilation, and reduce the risk of installation problems over time.

KandS Floor